Table of Contents
Introduction: Why Imagery Matters
Understanding Imagery: More Than Just ‘Painting’ A Picture
The 15-Step Framework: A Proven Path to Mastery
Step 1: Start with the Senses (The Foundation)
Step 2: Demystify the Jargon
Step 3: The ‘Show, Don’t Tell’ Revelation
Step 4: Mentor Text Mining
Step 5: Sensory Word Banks
Step 6: The ‘Image of the Day’ Challenge
Step 7: From Concrete to Abstract
Step 8: Collaborative Descriptions
Step 9: Incorporate Figurative Language
Step 10: The Revision Lens
Step 11: Cross-Curricular Connections
Step 12: Engage the Body
Step 13: Leverage Technology
Step 14: Peer Teaching & Feedback
Step 15: Celebrate the Vivid
Common Pitfalls & How to Avoid Them
Case Study: A Transformative Unit in Action
Conclusion: Cultivating Lifelong Vivid Thinkers
Introduction: Why Imagery Matters
The truth is that adding the comment “use more imagery” in the margin is not usually a game-changer for students. For many students, the comment itself is too abstract and unclear. The comment is not a guiding one that describes the impact of imagery in a student’s writing or their ability to comprehend it fully. The challenge is not in defining imagery. The challenge is designing a classroom experience that students OWN, enabling them to experience the power of imagery.
Understanding Imagery: More Than Just ‘Painting’ A Picture
This article outlines how to teach imagery step by step and explains explicitly 15 ways to help students see, make, and use all forms of sensory language. Imagery allows one to gain a deeper understanding of human Perception.
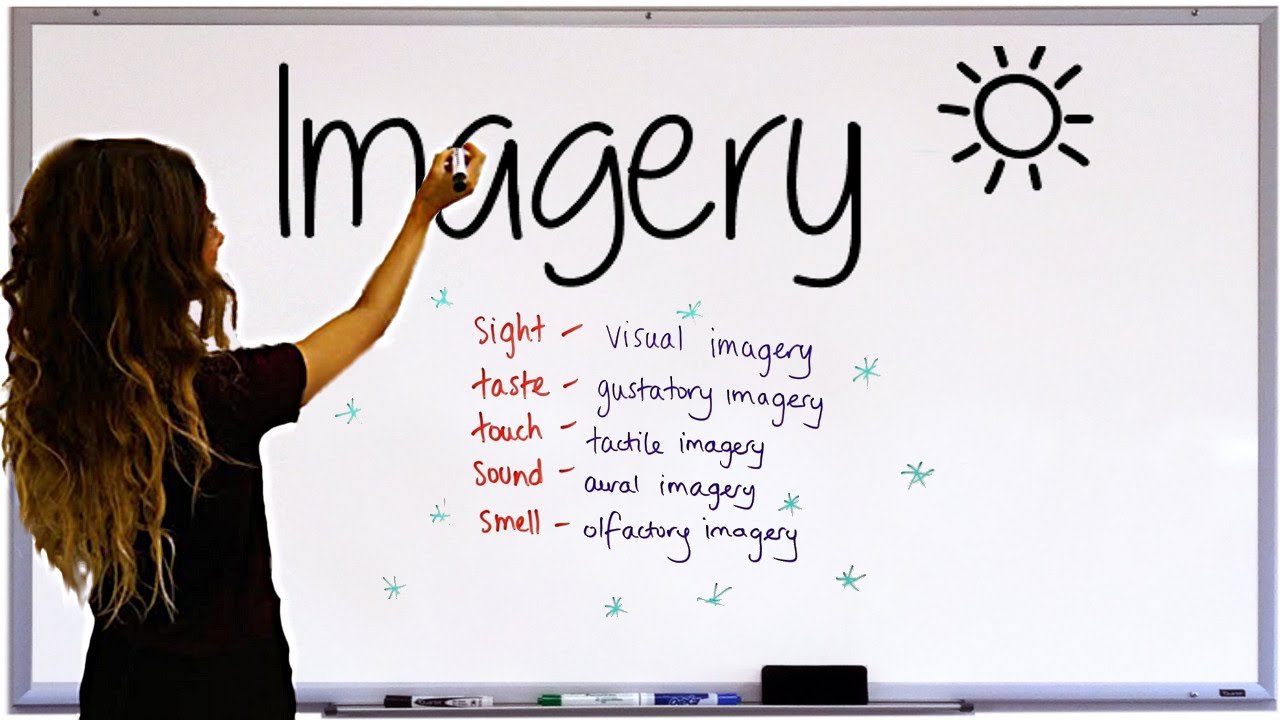
Imagery Defined
Before we get into ways to teach imagery, let’s make sure we’re on the same page. Imagery is not only a visual. When a text evokes sensory language through imagery, it can create a world that engages all five senses. Without restriction, one can see, feel, touch, smell, and taste the whole atmosphere of a moment. Teaching students to use imagery is about encouraging them to use more descriptive language. Rather than just writing, “the food was good,” a student might explain, “the barbecue sauce was sticky and sweet, and the sauce was smoky and filled my mouth with a tingle when I chewed.”
The 15-Step Framework: A Proven Path to Mastery
How to teach imagery summative
The process of teaching imagery is not a sprint but a course. There is no way to be well-versed in sensory language without a proper, step-by-step, structured, and sequential process. This is the path to mastery.
Step 1: Start with the Senses (The Foundation)
Before engaging with the poetry and storytelling, focus first on Perception. In this “sense scan”, close your eyes and observe the sounds and smells in the room: the subtle whiff of dry-erase markers, the cool air coming from the vent, the chair’s hard plastic. This exercise ties the concept to a unique reality, and homes focus on teaching and activating students’ sensory skills.
Step 2: Demystify the Jargon
Use the word “imagery” in a title, but call it a superpower. Tell the students that authors use “feeling language “to create a mental movie” that people can run in their heads. It can be used in “creative writing,” but it is also used in persuasive speeches to make an issue more “real” and in history writing to bring it alive. It is also used in science writing to clarify a “thing.” This relevance is essential to consider in planning to teach imagery in other subjects.
Step 3: The ‘Show, Don’t Tell’ Revelation
This is the classic bridge. Provide tell statements: “She was scared.” “The room was messy.” ” He ate the pie.” The challenge? Show it using only sensory details. For “she was scared,” a student might write: “Her breath hitched in her throat, and her eyes darted toward the faint creaking in the hallway.” This exercise is the core workshop for learning how to teach imagery through application.
Step 4: Mentor Text Mining
Now, show them the masters. Use short, potent excerpts from novels, poems, and articles. Have students hunt for sensory details. Underline words related to sight in blue, sound in green, smell in yellow, etc. This color-coding makes the author’s technique visible and concrete. Analyzing how professionals do it is a non-negotiable part of understanding how to teach imagery effectively.
Step 5: Sensory Word Banks
Create classroom anchor charts or digital documents for each sense as students encounter powerful words (like “glisten,” “cho,” “ungent,” “rainy,” “art”). As students experience these words, they add them to the banks. This provides a vital scaffold for struggling writers and enriches everyone’s vocabulary. A rich word bank is a practical tool in your strategy for teaching imagery.
Step 6: The ‘Image of the Day’ Challenge
Put up an engaging image or play an Audio clip without sound. Have students compose detailed descriptions of all five senses, each in 3-4 sentences. This daily habit will build those sensory muscles faster than any single big assignment can.
Step 7: From Concrete to Abstract
The students have more than likely described physical objects. From here, push them to abstract details. But how can imagery be taught for feelings? For instance, have them tell the emotion of ‘loneliness’ as a type of weather, sound, or taste. “Loneliness tastes like stale bread. It sounds like the distant hum of the refrigerator in an empty house.”
Step 8: Collaborative Descriptions
Do a “sensory round-robin.” Using a whiteboard or Google Doc, compose one sentence as a class: “It was a crowded market.” Then, have each student layer in a sensory detail for a different sense. Everyone collaborates to build a complex description that models the layering process.
Step 9: Incorporate Figurative Language
Step 10: The Revision Lens
Give your class a paragraph they previously wrote and instruct them to revise it to add three sensory details. This illustrates that crafting details may not always need to be done in a first draft.
Step 11: Cross-Curricular Connections
Let students see how imagery is universally applicable. In a history class, describe the sensory experience of being in a trench during WWI. In a science class, explain the chemical reaction in terms of its kinetic energy, and elaborate on the eerie silence of deep space. This helps students see how beneficial it is to know how to teach imagery for understanding in every subject.
Step 12: Engage the Body
Make it kinesthetic. Have students act out a descriptive sentence. For example, how would you physically respond to “the wave of the rotten-egg smell”? This connects the sensation to the language.
Step 13: Leverage Technology
Use sites or apps to create simple videos, soundscapes, or digital stories in which students’ descriptive writing serves as narration. The deep engagement that comes from multimodal creation helps us understand how to incorporate imagery into writing.
Step 14: Peer Teaching & Feedback
Encourage students to participate in the peer feedback activity through the “Sensory Checklist.” Ask students what one detail and writing piece most evocatively engaged their three senses. Teaching feedback and imagery to students helps them understand how to articulate concepts surrounding teaching imagery.
Step 15: Celebrate the Vivid
Students should receive and share the most vivid pieces publicly. They could read them at an assembly, display them in a classroom, or create a “Hall of Imagery.” Celebrating the use of these skills communicates to students that they are valuable skills to develop.
Common Pitfalls & How to Avoid Them
The Sensory Overload: Students sometimes try to list out every detail that could fit into the writing. Teach these students to be strategic and select at most three details to create a warm tone.
The Purple Prose Problem: They might end up with a flowery, cliched theme. Help these students use language that engages multiple senses and be specific in their descriptions, such as “damp, moss-covered stone,” rather than “the pretty old rock.”
Neglected the Less Glamorous Senses: Students tend to focus mainly on sight, the most prominent sense. Use specific prompts that guide touches, sounds, smells, and descriptions to avoid prioritizing the sense of sight. This often results in more one-of-a-kind descriptions.
Case Study: A Transformative Unit in Action
Ms. Alvarez was a seventh-grade ELA teacher. When she was developing her ELA curriculum for the sixth-week unit, doing Sense Scans (Step 1), she started with a bland opening paragraph and ended with the Vivid Memory narrative. The improvements that the students made were incredible. One student wrote an original but bland paragraph about how nervous and scared they were about an upcoming piano recital. The student’s narrative vividly expressed their feelings: “The stage lights felt like a desert sun on my part. My sheet music, smudged with nervous fingerprints, rustled like a trapped bird in my hands. The scent of lemon polish on the grand piano mixed with my own salty sweat.” To me, the students did so much more than improve their writing; they learned how to communicate and express their deep feelings. This is the unit’s primary goal.
Conclusion: Cultivating Lifelong Vivid Thinkers
Teaching imagery goes beyond teaching literary analysis. It is about developing careful observers: people who can describe the feel of the world and understand others’ experiences. By completing this structured approach, you are not just completing a curriculum requirement. You are giving students a way to see more, a method to express their ideas more freely, and a skill that will enhance their reading and writing abilities throughout their lives. The process of teaching imagery is about teaching vivid thought and deeper connections between words.
You may also read itbigbash.